Ariston L 64 Technical Information
Stöbern Sie online oder laden Sie Technical Information nach Geschirrspüler Ariston L 64 herunter. Ariston L 64 Technical information Benutzerhandbuch
- Seite / 56
- Inhaltsverzeichnis
- LESEZEICHEN
- Country of destination GB, IE 1
- A. Central Heating Flow 8
- B. Domestic Hot Water Outlet 8
- C. Gas Inlet 8
- D. Domestic Cold Water Inlet 8
- E. Central Heating Return 8
- Technical Data 9
- A B C D E 16
- See table 17
- * pente 5 mm par mètre 18
- Total length of 19
- Useable length of 19
- AIR INTAKE MUST NOT BE 22
- FITTED ABOVE THE EXHAUST 22
- H05V2V2-F 25
- SCHEDA CALDAIA 26
- B- Platine autres options 27
- FIRST IGNITION OPERATION 29
- Table summarising error codes 33
- MAINTENANCE GUIDE 36
- 2 ELECTRICAL UNIT 37
- 3 HYDRAULIC UNIT 39
- 4 BURNER UNIT 47
- 5 ANNUAL MAINTENANCE 52
- SERVICE RECORD 54
- SHORT LIST 55
- 420010127601 - 05/2009 56
Inhaltsverzeichnis
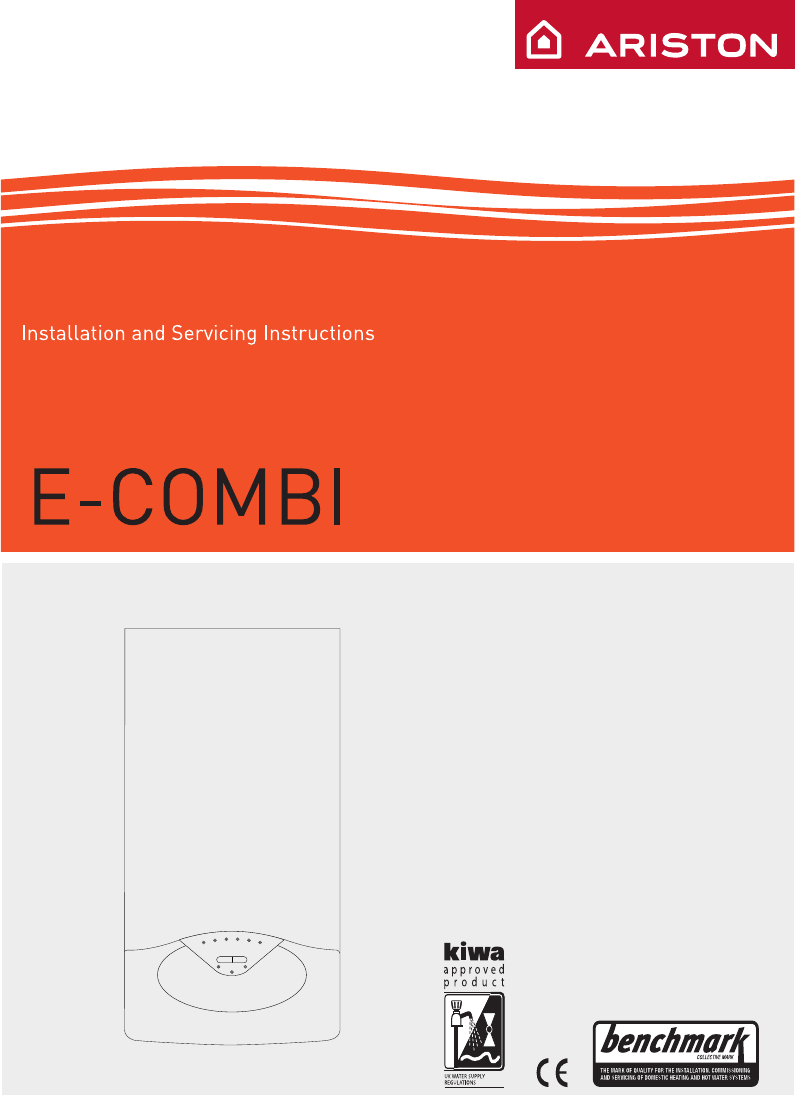
Gas red condensing wall hung combination boiler G.C.N : 47-116 - 62 (24 kW) G.C.N : 47-116 - 63 (30 kW) G.C.N : 47-116 - 64 (38 kW)E-COMBI 24E-C
10installationReference StandardsIn the United Kingdom, the installation and initial start-up of the boiler must be by a CORGI registered insta
11installationNote: the flue must Not be iNstalled iN a place likely to cause a NuisaNce aNd positioNed to eNsure that products of combustioN do Not d
12installationFlushing and Water TreatmentThe boiler is equipped with a stainless steel heat exchanger.The detailed recommendations for water treatmen
13installationCondensate DischargeThe condensate discharge hose from the boiler must have a continuous fall of 2.5o and must be inserted by at least 5
14installationInstalling the BoilerPlease check that you are familiar with the installation requirement before commencing work (pages 7 - 13).The inst
15installationGas connection Make sure, using the labels on the packaging and the data plate on the appliance itself, that the boiler is in the c
16installationTo calculate the size of the heating installation, refer to the "Available pressure" graph below. Graph representing the avail
17installationConnecting the FlueFlue SystemThe provision for satisfactory ue termi-nation must be made as described in BS 5440-1.The appliance must
18installationWarningThe exhaust gas ducts must not be in contact with or close to inammable material and must not pass throu-gh building structures
19installationClampSealScrewsOnce the boiler has been positioned on the wall, it is ne-cessary to insert the Ø80/125 adaptor (Fig. 5) for both horizon
2overviewINDEXOverviewGeneral Information ... 3Advice for the Installer ...
20installationFitting the Coaxial Flue (Ø 60 / 100 Vertical)Note: See table for maximum and minimum ue runs.Contents:1x Silicone O-Ring (60mm)1x
21installationFitting the Twin Pipe (Ø80 / 80)Note: See table for maximum and minimum ue runs.Where it is not possible to terminate the ue within th
22installationFor coaxial systems, the maximum ue lengths listed in the table (see page 23) take into account an elbow.For twin ue systems the maxim
23installationTable of ue gas exhaust duct lengthsCOAXIAL SYSTEMFLUE TYPEMAX LENGTHDIAMETERof PIPEEQUIVALENTLENGTH 45° 90°C13Flue gas exhaust and a
24installationTWIN-PIPE SYSTEMFLUE TYPEMAX LENGTHDIAMETERof PIPEEQUIVALENTLENGTH 45° 90°C13Flue gas exhaust and air suction duct through external wa
25installation WARNING Before performing any work on the boiler, rst disconnect it from the electrical power supply using the external bipol
26installationRoom Thermostat / Remote Clock ConnectionThe boiler connections for external controls are 12V DC and so only controls of 12V DC that ha
27installationElectrical diagramFor increased safety, ask a qualied technician to perform a thorough check of the electrical system. The manufacturer
28commissioningInitial preparationAt the time of commissioning, complete all relevant sections of the Benchmark Checklist located on the
29commissioningFIRST IGNITION OPERATION1. Check the electrical supply.Complete . . . . . . . . . . . . . . . . . . . Date . .
3overviewThese instructions are suitable for E-COMBI boilers :Do not forget the Log Book!The Benchmark SchemeBenchmark places responsibilities on both
30commissioningElectricity supply - Check that the voltage and frequency of the electricity supply correspond to the data shown on the
31commissioningSETTINGREGULATING THE CENTRAL HEATING IGNITION DELAYgas setting24 kW30 kW38 kWG20G31G20G31G20G31lower Wobbe index (15°C, 1013 mbar) (
32commissioningTest function and combustion analysisThe boiler has two pressure taps to measure the com-bustion gas temperature, the combustive air an
33boiler protection devicesBoiler protection devicesThe boiler is protected from malfunctioning by means of internal checks performed by t
34maintenanceImportantMaintenance is an essential part of the safe and ecient operation of the boiler and ensures its durability. It
35maintenanceDraining proceduresThe heating system must be drained using the following procedure:- Switch o the boiler, make sure the
36MAINTENANCE GUIDE1. GENERAL ACCESSGENERAL ACCESSTools Time 3 min1Unclip the cover to remove Remove the two screws Remove the front panel2Lower
37MAINTENANCE GUIDE2. ELECTRICAL UNITMAINTENANCE GUIDE: CLAS HE2 ELECTRICAL UNIT 2.1 CONTROL BOX ACCESSCONTROL BOX ACCESS ToolsTime4 min 1Remove the
38MAINTENANCE GUIDEMAINTENANCE GUIDE: CLAS HE2.3 MAIN PCBMAIN PCB ToolsTime7 min 1After opening the control box, disconnect the electrical plug connec
39MAINTENANCE GUIDE3. HYDRAULIC UNITMAINTENANCE GUIDE: CLAS HE3 HYDRAULIC UNIT 3.1 RIGHT HAND HYDRAULIC BLOCK ASSEMBLYLEGEND1. Diverter valve motor
4overviewAdvice for the installerThe installation and rst ignition of the boiler must be performed by qualied personnel in compliance with
40MAINTENANCE GUIDEMAINTENANCE GUIDE: CLAS HE3.3 DRAININGDRAINING ToolsTime5 min 1Turn the drain valve anti-clockwise to open and drain the water from
41MAINTENANCE GUIDEMAINTENANCE GUIDE: CLAS HE3.6 PUMPPUMPToolsTime10 min 1Drain boiler (see 3.3). Remove the clip and the two screws Disconnect the pi
42MAINTENANCE GUIDEMAINTENANCE GUIDE: CLAS HE3.7 CH FILTERCH FILTER ToolsTime5 min 1Drain boiler (see 3.3) Remove the clip Remove the filter 3.8DHW FL
43MAINTENANCE GUIDEMAINTENANCE GUIDE: CLAS HE3.11 SECONDARY HEAT EXCHANGERSECONDARY HEAT EXCHANGER ToolsTime10 min 1Drain primary and domestic hot wa
44MAINTENANCE GUIDEMAINTENANCE GUIDE: CLAS HE3.13 SAFETY VALVESAFETY VALVE ToolsTime3.14 BY-PASS ASSEMBLY5 min 1Drain boiler (see 3.3). Disconnect th
45MAINTENANCE GUIDEMAINTENANCE GUIDE: CLAS HE3.15 TEMPERATURE SENSORS & OVERHEAT THERMOSTATTEMPERATURE SENSORS & OVERHEAT THERMOSTAT ToolsT
46MAINTENANCE GUIDEMAINTENANCE GUIDE: CLAS HE3.17 MAIN HEAT EXCHANGERMAIN HEAT EXCHANGER ToolsTime20 min 1Drain boiler (see 3.3). Remove the four
47MAINTENANCE GUIDEMAINTENANCE GUIDE: CLAS HE4 BURNER UNIT LEGEND1. Burner 6. Gas valve2. Fan 7. Mixing tube 3. Silencer 8. Detection electrode 4. G
48MAINTENANCE GUIDEMAINTENANCE GUIDE: CLAS HE4.1 SPARK GENERATOR4.2ELECTRODESSPARK GENERATOR Tools5 min Time1Unplug the ignition electrode from the sp
49MAINTENANCE GUIDEMAINTENANCE GUIDE: CLAS HE4.3 BURNERBURNER Tools15 min Time1Remove the silencer Isolate the gas supply. Remove the four screws and
5overview Safety regulationsKey to symbols:Failure to comply with this warning implies the risk of personal injury, in some circumstances even fatal.F
50MAINTENANCE GUIDEMAINTENANCE GUIDE: CLAS HE4.4 FANFANToolsTime15 min 1Remove the three screws to free the fan.Remove the combustion assembly (see 4.
51MAINTENANCE GUIDEMAINTENANCE GUIDE: CLAS HE4.5 GAS VALVEGAS VALVE ToolsTime15 min 1Replacement gas valves are not factory set and will need to be se
52MAINTENANCE GUIDEMAINTENANCE GUIDE: CLAS HECondensate trapMaintenance Interval: Annually or after cleaning primary heat exchanger How : Visual ins
GAS BOILER SYSTEM COMMISSIONING CHECKLISTCONTROLS Tick the appropriate boxesTime and Temperature Control to Heating Room Thermostat and Programma
SERVICE RECORDIt is recommended that your heating system is serviced regularly and that the appropriate Service Record is completed.Service ProviderBe
55SHORT LISTInd 01 - 07/03/2008Key NDescriptionManf. Pt. NTypeManf. datefrom toE-COMBI24 30 380100 BURNER ASSEMBLY0110 IGNITION ELECTRODE 61317432...0
420010127601 - 05/2009Ariston Thermo UK LtdHughenden AvenueHigh WycombeBucks HP13 5FTTelephone: (01494) 755600Fax: (01494) 459775Internet: www.ariston
6product description90°40°50°60° 70°80°on/o1234567891011121314151617181920212223249612I12345891067Control panelLegend : 1. Green indicator : CH tem
7product description 1. Flue connector 2. Manual air vent 3. Burner 4. Detection electrode 5. C.H. Return temperature probe 6. C.H. Flow tem
8product description28770200150120 12020018065 6567 6725770Overall Dimensions24/30/38A. Central Heating FlowB. Domestic Hot Water OutletC. Gas InletD
9product descriptionTechnical DataGENERAL NOTEModel E-COMBI243038CE Certication (pin)0085BR0347Boiler typeB23-C13-C33-C43-C53-C83POWER SPECIFICATI
Weitere Dokumente für Geschirrspüler Ariston L 64


Verwandte Produkte und Handbücher für Geschirrspüler Ariston L 64


 (84 Seiten)
(16 Seiten)
(84 Seiten)
(16 Seiten)
 (68 Seiten) (16 Seiten)
 (84 Seiten)
(16 Seiten)
(84 Seiten)
(12 Seiten)
(23 Seiten)
(12 Seiten)
(13 Seiten)
(84 Seiten)
(16 Seiten)
(84 Seiten)
(12 Seiten)
(23 Seiten)
(12 Seiten)
(13 Seiten)
© 2020, manymanuals.de. Alle Rechte vorbehalten. | 1.567 s |
 Manymanuals.com
 Manymanuals.de
 Manymanuals.fr
 Manymanuals.it
 Manymanuals.pl
 Manymanuals.cz
 Manymanuals.es
 Manymanuals-pt.com
Kommentare zu diesen Handbüchern